Buy Drum Flow, get a free gift with purchase:
Drum Flow
Your 'Drum Sound' provides the heartbeat of a song; it's the foundation that every classic mix is built on.
Everyone wants a unique drum sound, and you can't get there by replacing all your drums with the same old samples! Working with real drums is a challenge because every drum, drummer, and room requires a different approach. The trick is to extract the maximum 'punch' without losing the nuance. The Drum Flow plugin can help you get there without skipping a beat!
Drum Flow is an all-in-one processing suite designed specifically to improve your drum tones. It contains 6 routable processing elements and a master section with input, output, and routing controls.
The elements included are:
- Drum Character - A unique equalizer that detects drum hit transients and allows for the attack and tail sections of the envelope to be EQed individually.
- Expander/Gate - A versatile dynamics processor that can be used as either an expander or gate to tighten your drum sounds and remove bleed from other nearby drum mics
- Signal Generator - Enhance your drum sounds with extra 'snap' or 'thump' by blending in a gated noise or low-frequency tone.
- Compressor - Harrison's full-featured console compressor with Ratio, Attack, Release, and Makeup controls
- 32C Channel EQ - An emulation of Harrison’s renowned 32C channel strip EQ.
- Filters - High- and low- pass filters with selectable shapes.
Processing Elements
Drum Character
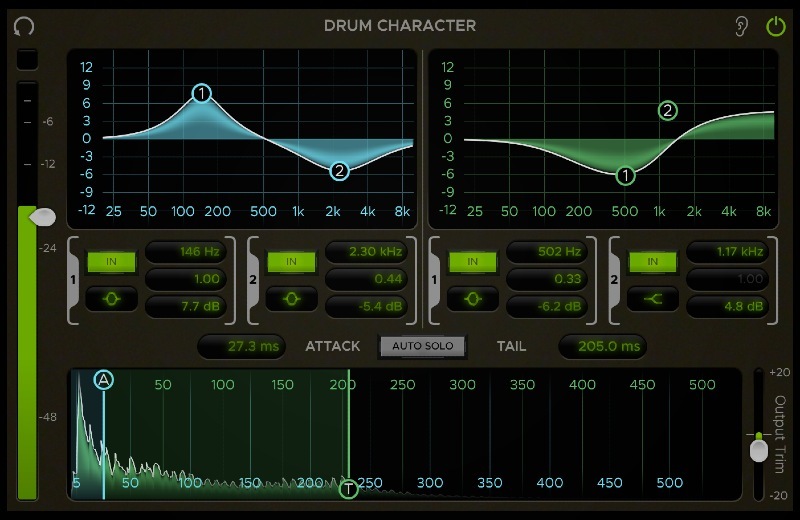
The Drum Character is an EQ that detects the transients of drum hits and allows you to EQ their Attack and Tail ranges separately.
The Threshold slider attached to the input meter on the left sets the level at which the Drum Character EQ gets triggered. Whenever the input signal exceeds the Threshold, the Trigger Indicator light above the input meter will flash indicating that a new drum hit transient has been detected. Set the Threshold so that it only triggers the desired drum hits.
Waveform Display
When a new drum hit is detected, its transient waveform will be shown on the Waveform Display at the bottom. The Waveform Display has controls for setting the Attack and Tail ranges of the transient. The Attack Width parameter sets the point in milliseconds in which the Attack range ends and the Tail range begins. The Tail Width parameter sets the amount of milliseconds in which the Tail range extends past the Attack Width. The Attack and Tail Widths can be adjusted on the Waveform Display using the sliders labelled “A” and “T” respectively or with the corresponding control labels above the display.
EQ Displays
Adjust the EQ settings for the Attack and Tail ranges using the EQ displays at the top of the module. The display on the left is the Attack EQ which is only applied to the section of audio within the Attack range. The display on the right is the Tail EQ which is only applied to the section of audio within the Tail range. The Attack and Tail EQs each have 2 bands which are labelled 1 and 2. The bands can be adjusted by clicking and dragging them on the graphs or by using the corresponding controls below the graphs.
The Attack and Tail EQ graphs provide a visual display of the EQ curves and allow for direct “hands-on” control of the bands. Each band is represented by a “bubble” on the graph which can be used to adjust its parameters. Click and drag a band’s control bubble to adjust its Frequency and Gain. You can also adjust the Q by right-clicking & dragging or by scrolling the mouse wheel over a band. Alt-clicking a band will reset it to its default state, while double-clicking will reset its Gain only. Special control modifiers such as these allow you to do a lot more with the band controls. For a complete list of control modifiers and shortcuts, see the Control Behaviors & Shortcuts section of the manual.
EQ Controls
The EQ control sections below the graph allow for more advanced control over the bands’ parameters. Each of the 4 band control sections contains controls for the corresponding band’s Enablement, Shape, Frequency, Q, and Gain. You can enable or disable a band by toggling the IN button at the top-left of its control section.
Directly below the IN button is the band Shape selector. Clicking this will open a menu where you can select the EQ shape for the corresponding band.
- Each band has the following shape options:
- Low Shelf (12 dB/Octave)
- High Shelf (12 dB/Octave)
- Bell
- Notch (infinite “cut” at the selected frequency, with adjustable Q width)
The control sections also provide Frequency, Q, and Gain controls which can be adjusted by clicking and dragging their value labels or by typing new values directly into them. For ease of use, these will accept bare numbers such as “500” or numbers with units such as “500Hz”, “1k”, “1kHz”, “20dB”, etc.
Auto/Quick Solo
The Auto Solo function allows you to isolate the individual ranges while you adjust their controls. When the Auto Solo button is toggled on, adjusting the Attack EQ bands or the Attack Width will automatically solo the Attack portion of the transient and adjusting the Tail EQ bands or the Tail Width will automatically solo the Tail portion. The solo will only remain active for as long as the control is being adjusted.
Another way to solo the Attack or Tail range is to use the Quick Solo modifier key. When adjusting any of the EQ or Width controls, you can hold down the Control key on your keyboard to temporarily solo the corresponding range until the key is let go or until the control is no longer being adjusted.
Expander/Gate
The Expander/Gate is a dynamics processor that attenuates signals below a set threshold. This is useful for removing unwanted parts of a signal that were picked up due to microphone bleed.
The slider attached to the Input Meter on the left controls the Threshold. The Threshold sets the dB level in which the Expander/Gate opens. Signals above the threshold will be allowed to pass through unaffected while signals below the Threshold will be attenuated.
Directly to the right of the Input Meter is the Reduction Meter which displays the level of gain reduction in dB.
The Depth sets the amount of gain reduction that is applied when the Expander/Gate is fully closed.
The Attack sets the amount of milliseconds it takes for the Expander/Gate to open fully once the Threshold has been exceeded.
The Release sets the amount of milliseconds it takes for the Expander/Gate to close all the way once the input signal falls below the Threshold.
The Mode switch at the top toggles between Gate and Expander mode. The availability of certain controls depends on the selected mode. The Hold and Hysteresis are only available in Gate mode and the Ratio and Knee are only available in Expander mode.
Gate Controls
The Hold sets the amount of milliseconds the gate will stay open for once the input signal has dropped below the Threshold.
The Hysteresis sets the amount of dB below the Threshold in which the Gate will close. This allows the signal to fall below the Threshold by a certain amount of dB before the Gate starts closing. For example, if the Threshold is set to -12dB and the Hysteresis is at 4dB, the Gate will open at -12dB and close at -16dB (4dB below the Threshold).
Expander Controls
The Ratio determines the amount of gain reduction applied for every decibel the signal falls below the Threshold. For example, a ratio of 2:1 means that an input signal that is 1dB below the Threshold will be reduced so that the output is 2dB below the Threshold.
The Knee controls the “smoothness” of the Ratio angle. With a low Knee value (Hard Knee), the Expander will react more abruptly as the signal crosses the Threshold. With a high Knee value (Soft Knee), the Expander will react more gradually.
Sidechain Filter
The Expander/Gate has a Sidechain Filter that can be used to filter the key signal that triggers the Expander or Gate. It is a band-pass filter that attenuates all frequencies outside of the target frequency range so that the Expander/Gate will be more sensitive to signals within that range. The Sidechain Filter controls can be found in the Sidechain Filter section at the bottom. The FILTER IN button toggles the filter in or out. When the Filter is toggled in, the other Filter controls will become enabled. The Freq control sets the center frequency of the Filter and the Q control sets the width of the band-pass range around it. The LISTEN button allows you to hear the filtered sidechain signal when toggled on.
Signal Generator
The Signal Generator offers a convenient way to enhance drum hits with various types of synthesized signals, such as white noise on a snare or a low-frequency sine wave on a kick. The generated signal is fed through a gate which is keyed off of the main input allowing the signal to be triggered on drum hits. The generated signal can then be blended with the main input signal in parallel using the Wet and Dry faders.
Signal Type
Choose the type of signal you want to generate using the Signal Type menu at the top. You can select between Sine Wave, White Noise, Int. Input, or Ext. Input.
- In Sine Wave mode, the Sine Freq slider will become enabled allowing you to set the frequency of the sine wave.
- In Int. Input (Internal Input) mode, instead of generating a signal, it sends a duplicate of the direct input through the gate to allow for parallel gating.
- Ext. Input (External Input) mode takes whatever signal is being sent to the plugin’s external key (sidechain) input and uses it as the generated signal. This allows you to use signals generated from external sources outside the plugin.
System Requirements
- MacOS: 10.9 or newer required
- Windows: Win7 or newer required
- Linux: Please try the demo
Host DAW support:
- ProTools: 10.3.5 or newer required for Windows, 11 or higher required for Mac. Enable the AAX format during installation
- Logic: Enable the AU format during installation
- Cubase: Enable the VST and/or VST3 format during installation
- Most other workstations: Enable the VST format during installation
Important note:
- For licenses with the format - XXXXXXX-XXXX-XXXX-XXXXXXXX - please scroll down and follow the instructions for Harrison Multi Band Compressor, below
- For iLok licences with the format XXXX-XXXX-XXXX-XXXX-XXXX-XXXX-XXXX-XX please follow the instructions for Harrison Bass Flow & SSL Guitarstrip immediately below
Please Note: Harrison Bass Flow & SSL Guitarstrip are used as examples
iLok Registration
1. Go to the iLok website and create a new account if you are not currently registered and do not have the iLok Licence Manager installed on your computer
Note: Skip to the 'Registration' procedure if you are already an iLok registered user
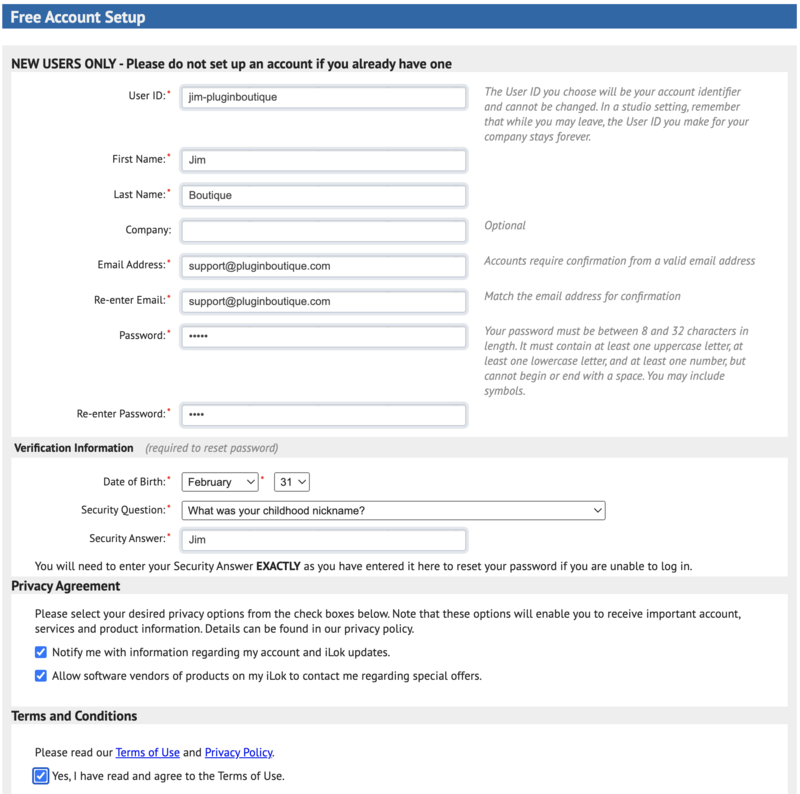
2. Download and install the iLok License Manager
SSL Download Manager Installation
1. Go to https://solidstatelogic.com/ssl-download-manager or click DOWNLOAD in your Plugin Boutique User Account
2. Click either macOS or Windows to download the installer (Linux versions available here)

3. Double-click installer > Follow the on-screen instructions to install
4. Open SSL Download Manager

5. Locate Harrison Bass Flow & SSL Guitarstrip > Click Install on each plugin
iLok Authorisation
1. Open your iLok license manager application > click Sign In

2. Enter your iLok registered User ID and password > click Sign In
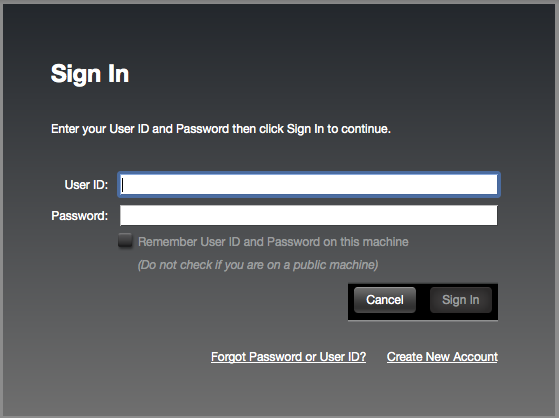
3. Once you are signed in, click the ‘Redeem’ icon which is located at the top-right corner of the iLok Licence Manager’s interface

4. Copy and paste/manually enter the 30-digit code from your Plugin Boutique User Account into the available Activation Code boxes, and then click Next
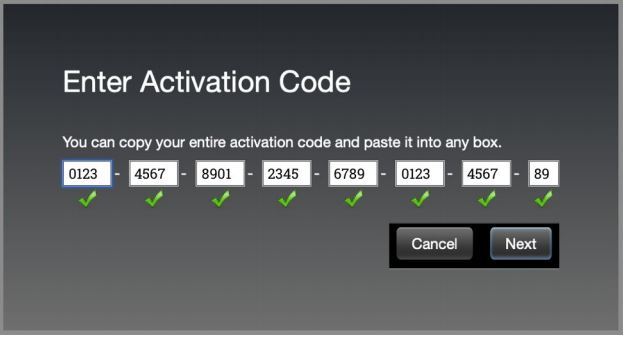
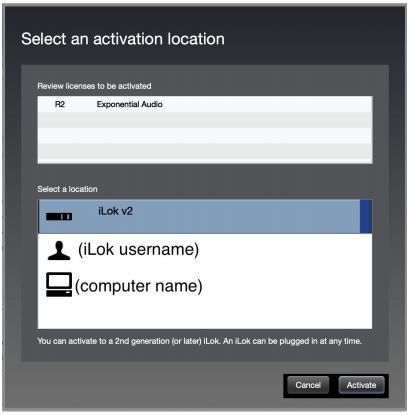
5. Select your activation destination > Click Activate
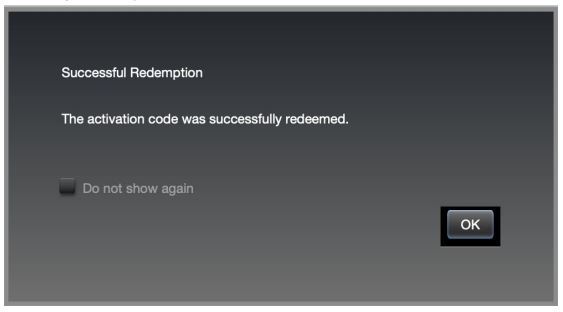
6. Click OK
7. Open the plugins in your DAW
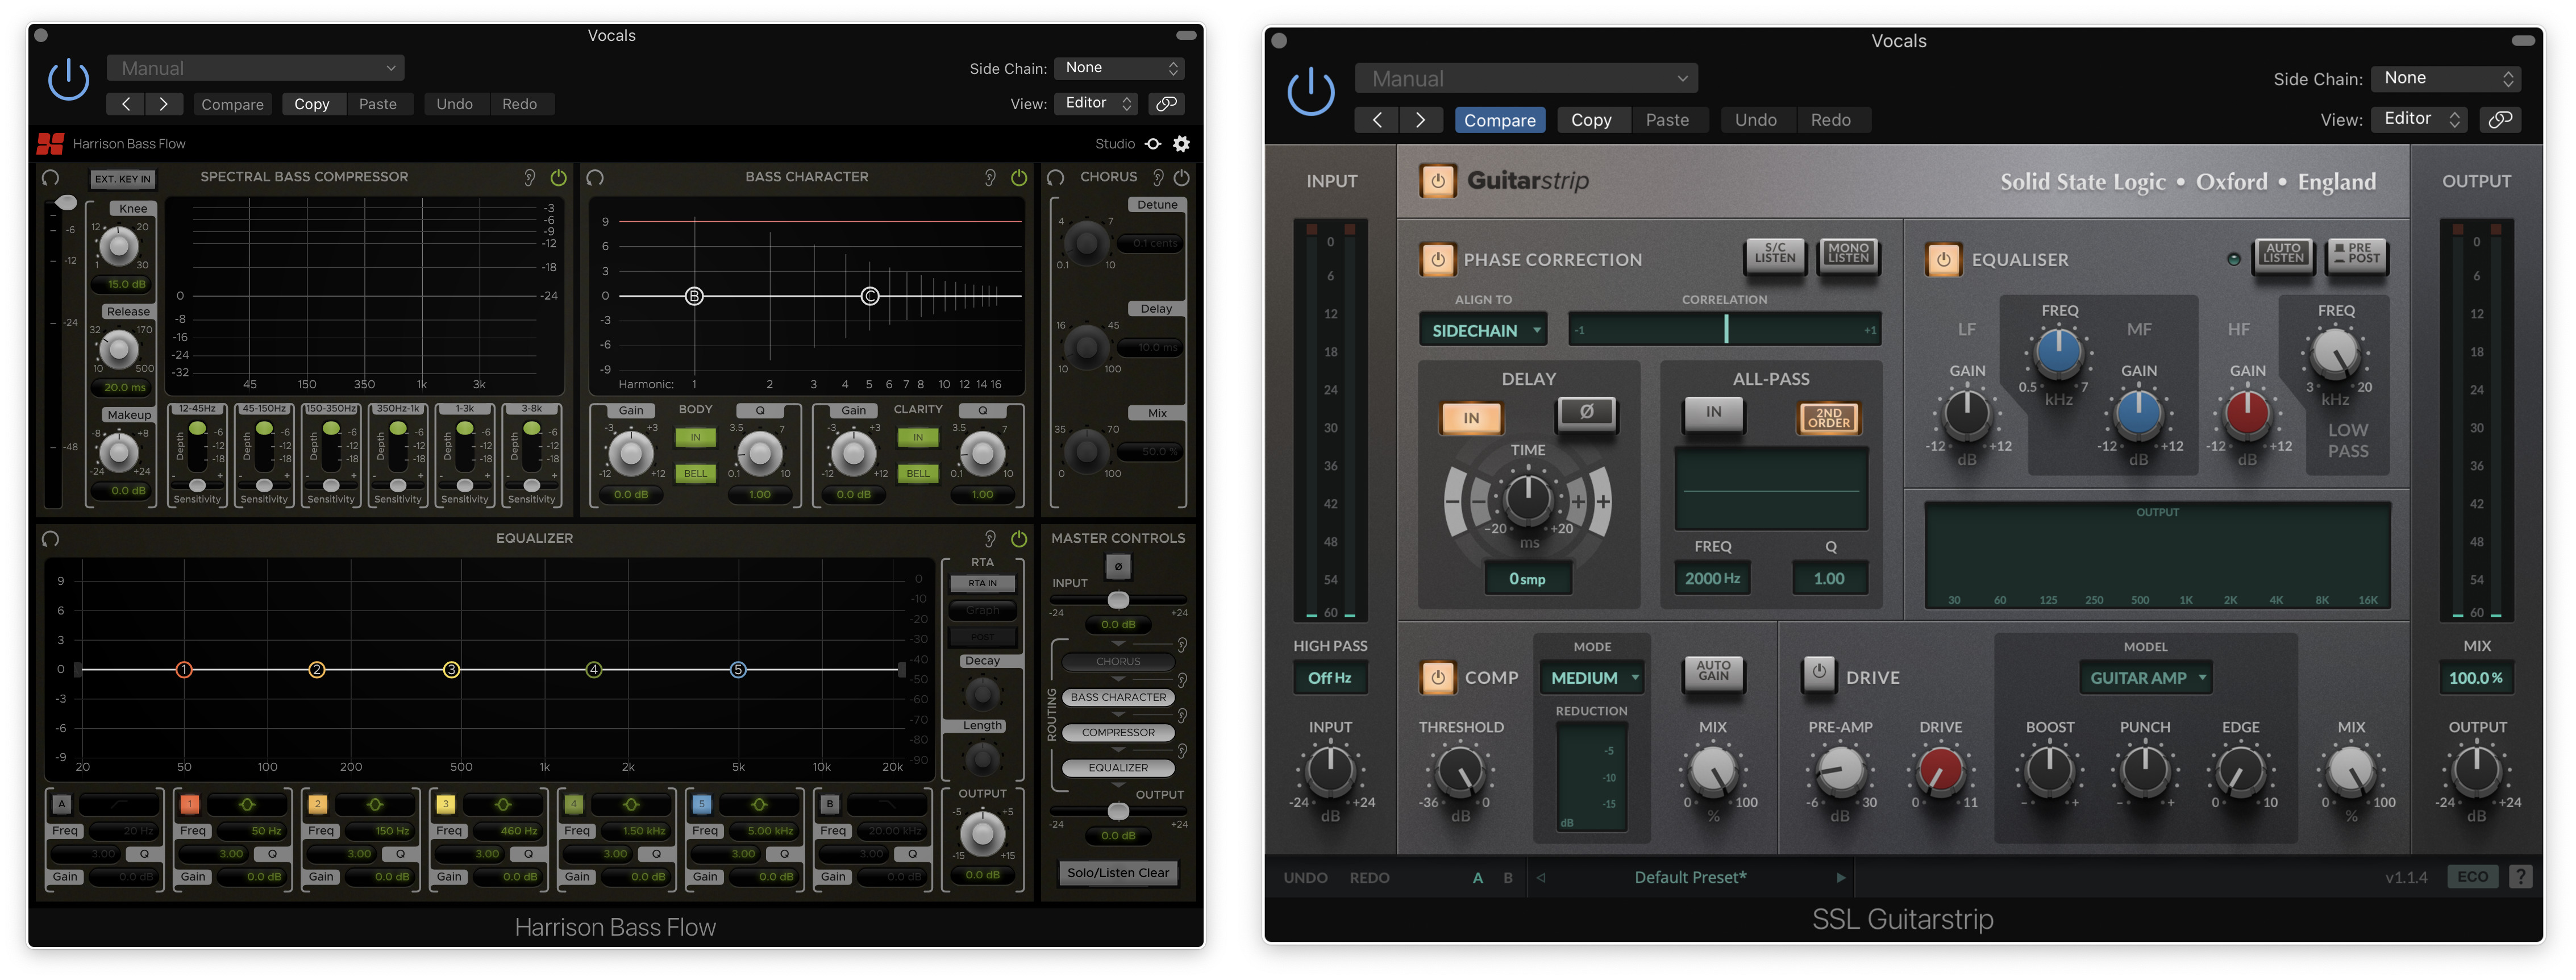
Your plugins are now installed and ready to use. Enjoy!
Please Note: Harrison Multi Band Compressor is used as an example
Note: Harrison and SSL plugins now share the same installation process via the SSL Download Manager
iLok Registration
1. Go to the iLok website and create a new account if you are not currently registered and do not have the iLok Licence Manager installed on your computer
Note: Skip to the 'Registration' procedure if you are already an iLok registered user

2. Download and install the iLok License Manager
Registration
1. Go to https://account.solidstatelogic.com/register-software > Create a new account or log into your existing account if you have one
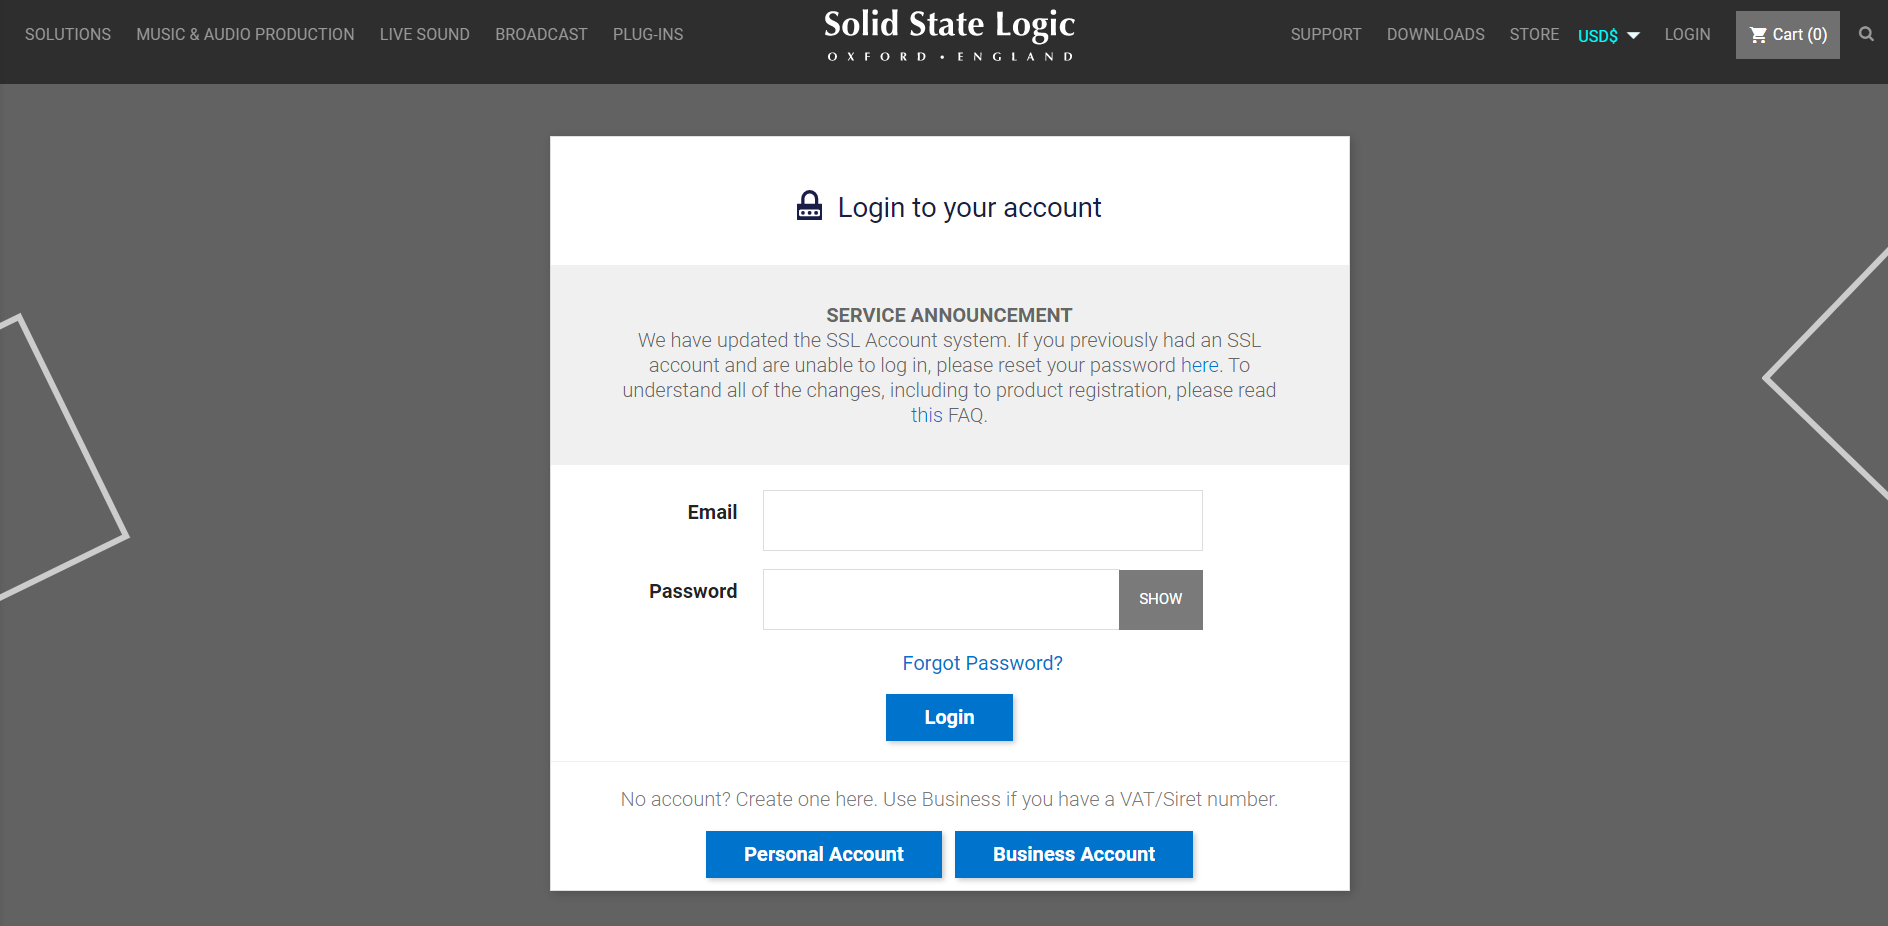
2. Click REGISTER SOFTWARE
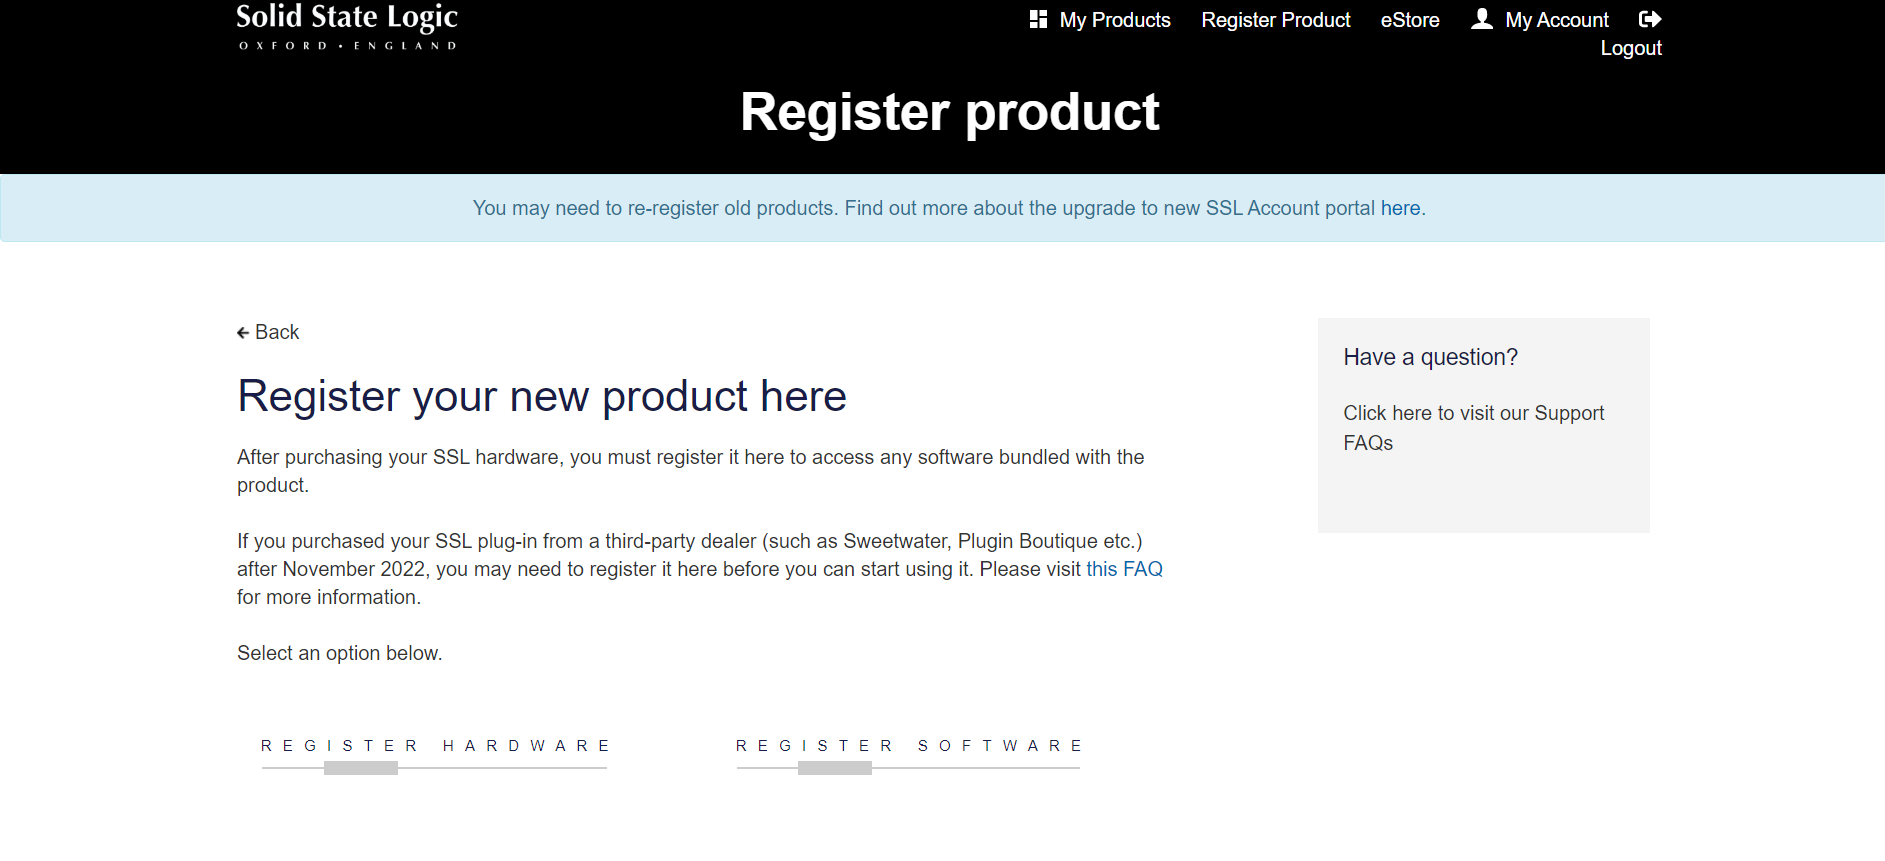
3. Enter your license code found in your Plugin Boutique User Account as well as your iLok ID > Click SUBMIT

SSL Software Installation
1. Go to https://solidstatelogic.com/ssl-download-manager or click DOWNLOAD in your Plugin Boutique User Account
2. Click either macOS or Windows to download the installer (Linux versions available here)

3. Double-click installer > Follow the on-screen instructions to install
4. Open SSL Download Manager

5. Locate Harrison Multi Band Compressor > Click Install
6. Open your DAW > Scan for plugins
7. Click Activate

8. Click Skip

9. Enter your iLok account details > Click Next

10. Select 'Harrison Multi Band Compressor' > Click Next

11. Select an activation location > Click Next

12. Click Continue

13. Open the plugin in your DAW
Your plugin is now installed and ready to use. Enjoy!


